Migrating Google Photos to Guizhou Cloud iCloud Photos
Recently, my girlfriend gifted me an iPhone, which led to this unconventional operation—probably something only tech-savvy users in mainland China would need to do.
For Google Photos to iCloud transfers in the US region, you can directly use Google Takeout for one-click migration.
Download All Google Photos
-
Follow the Google Photos Takeout Helper README to create a new export task.
-
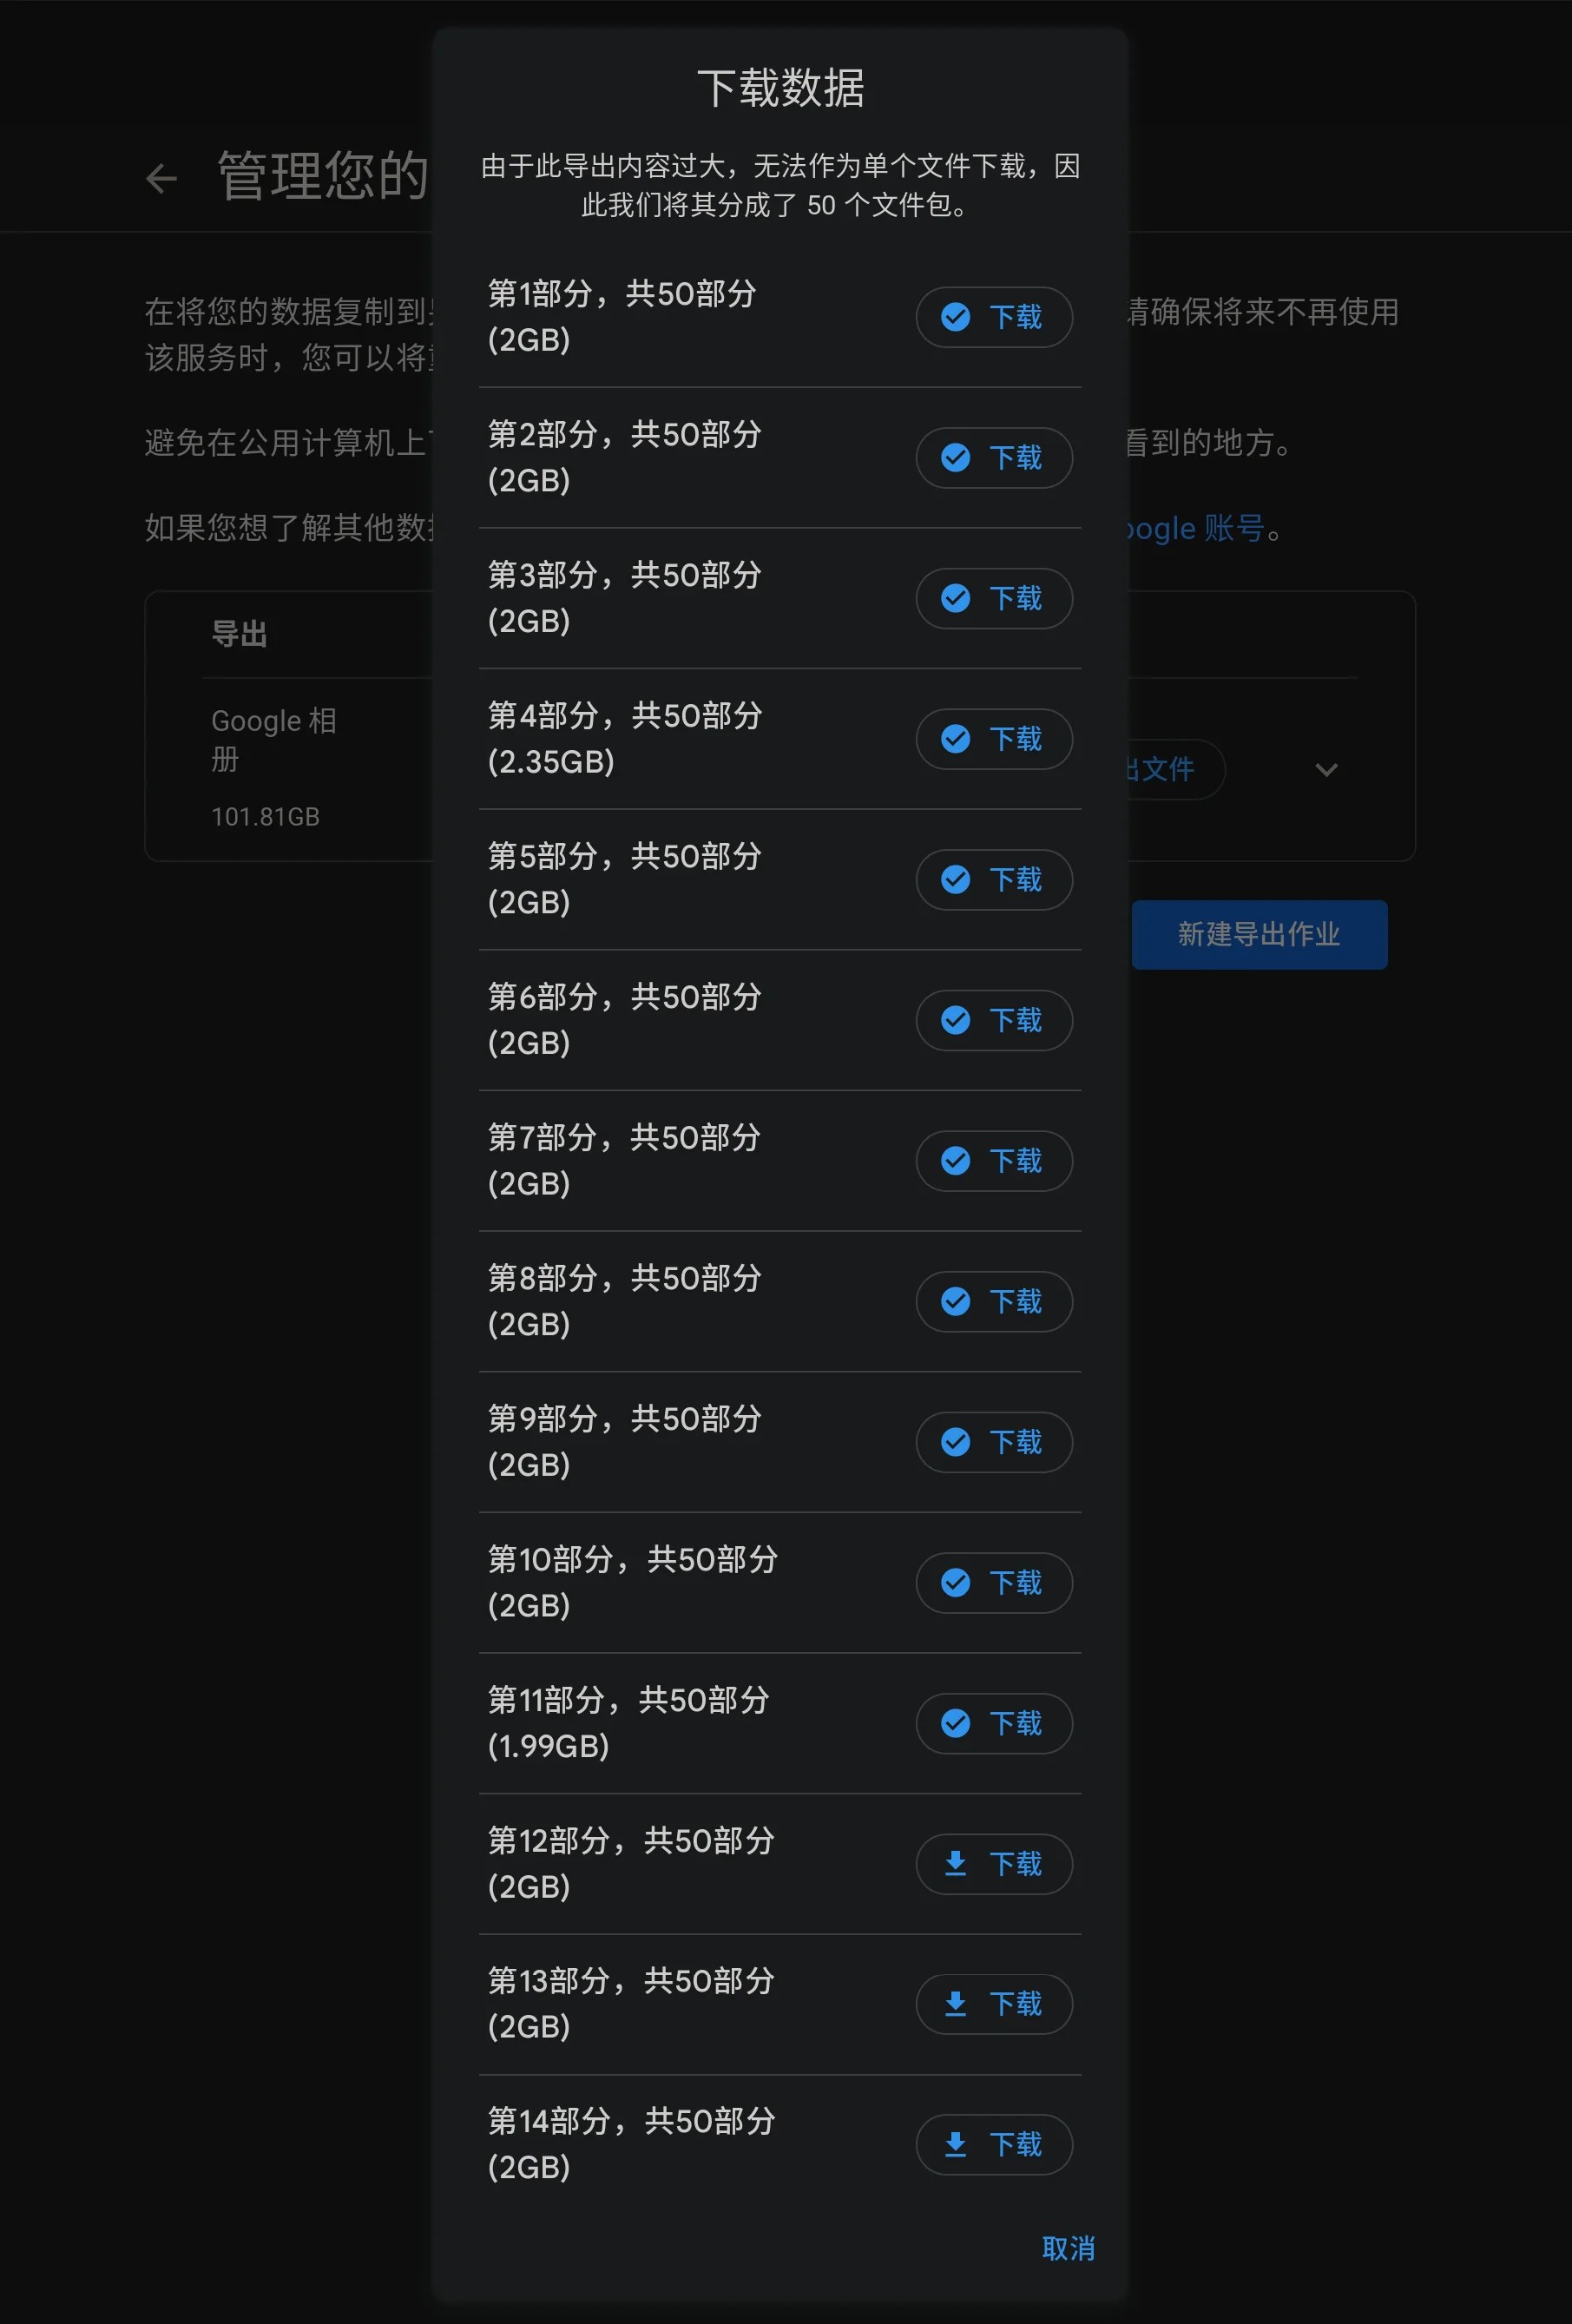
Wait for the export completion email and open one to gather basic data for batch downloading using scripts.
-
File list:
-
Right-click to copy a download link:
https://takeout.google.com/takeout/download?j=1162e805-3b09-494c-ba99-6bb0bb7719b9&i=0&user=105433832262546547905 -
Install a browser extension that can export download tasks as command-line tools, such as cliget:
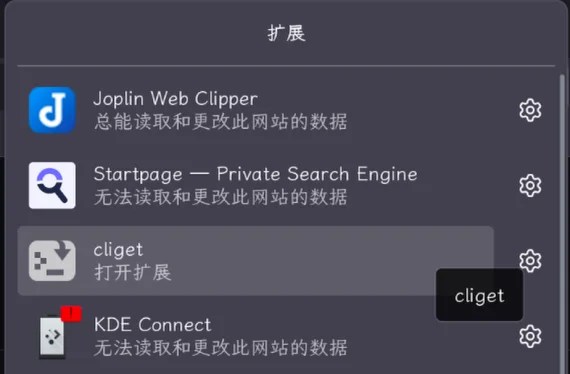
-
Obtain the command:
aria2c --header 'Host: takeout-download.usercontent.google.com' --user-agent ... 'https://takeout-download.usercontent.google.com/download/takeout-20250303T133330Z-001.zip?j=1162e805-3b09-494c-ba99-6bb0bb7719b9&i=0&user=779537051113&authuser=0' --out 'takeout-20250303T133330Z-001.zip' -
Notice that the file index is controlled by the “&i=0&user=” parameter in the URL, where the first file corresponds to i=0.
-
-
Write a batch download script:
#!/usr/bin/env python3 import subprocess from pathlib import Path command_template = r"aria2c --header 'Host: takeout-download.usercontent.google.com' --user-agent ...'https://takeout-download.usercontent.google.com/download/takeout-20250303T133330Z-011.zip?j=1162e805-3b09-494c-ba99-6bb0bb7719b9&i={{index}}&user=779537051113&authuser=0' --out 'takeout-20250303T133330Z-{{index}}.zip'" for i in range(50): print(i) if Path(f"takeout-20250303T133330Z-{i}.zip").exists() and not Path(f"takeout-20250303T133330Z-{i}.zip.aria2").exists(): print(f"takeout-20250303T133330Z-{i}.zip exists") continue url = f"https://accounts.google.com/AccountChooser?continue=https://takeout.google.com/settings/takeout/download?j%3D1162e805-3b09-494c-ba99-6bb0bb7719b9%26i%3D{i}&[email protected]" # download to photos_{i}.zip command = command_template.replace("{{index}}", str(i)) subprocess.run(command, shell=True) -
After downloading multiple ZIP files, extract them (since these ZIPs are not stripped archives but individual compressed files):
for file in *.zip 7z x "$file" end -
Use Google Photos Takeout Helper to process the files:
-
Fix timestamps:
gpth-linux --fix Takeout/ -
Convert:
gpth-linux --input Takeout/ --output photo/ --albums "shortcut" -
Fix timestamps in the target folder:
gpth-linux --fix photo/
-
Import to iCloud Photos
-
Set up a macOS virtual machine for uploading photos. Third-party tools like rclone can upload to iCloud (though not Photos specifically), but they are slow—testing showed it could take up to 3 days.
- Follow ultimate-macOS-KVM.
- Install macOS (I chose OSX14) and allocate sufficient storage (I allocated 256GB). Log in with your China-region iCloud account.
-
Enable SSH: Allow a remote computer to access your Mac.
-
Edit the
boot.shVM startup script:############## REMOVE THESE LINES AFTER MACOS INSTALLATION ############### #-drive id=BaseSystem,if=none,file="$VM_PATH/BaseSystem.img",format=raw #-device ide-hd,bus=sata.4,drive=BaseSystem ########################################################################## -netdev user,id=net0,hostfwd=tcp::5555-:22 -device "$NETWORK_DEVICE",netdev=net0,id=net0,mac="$MAC_ADDRESS" -device qxl-vga,vgamem_mb=128,vram_size_mb=128 -monitor stdio -
Connect from the host machine:
ssh <your-name>@localhost -p 5555
-
-
Run a WebDAV server in the
photofolder and forward the port to macOS:-
rclone serve webdav --addr :8080 . -
ssh -R 8080:127.0.0.1:8080 <your-name>@localhost -p 5555
-
-
Mount WebDAV in macOS: Mounting a Shared Folder Using WebDAV on Mac.
-
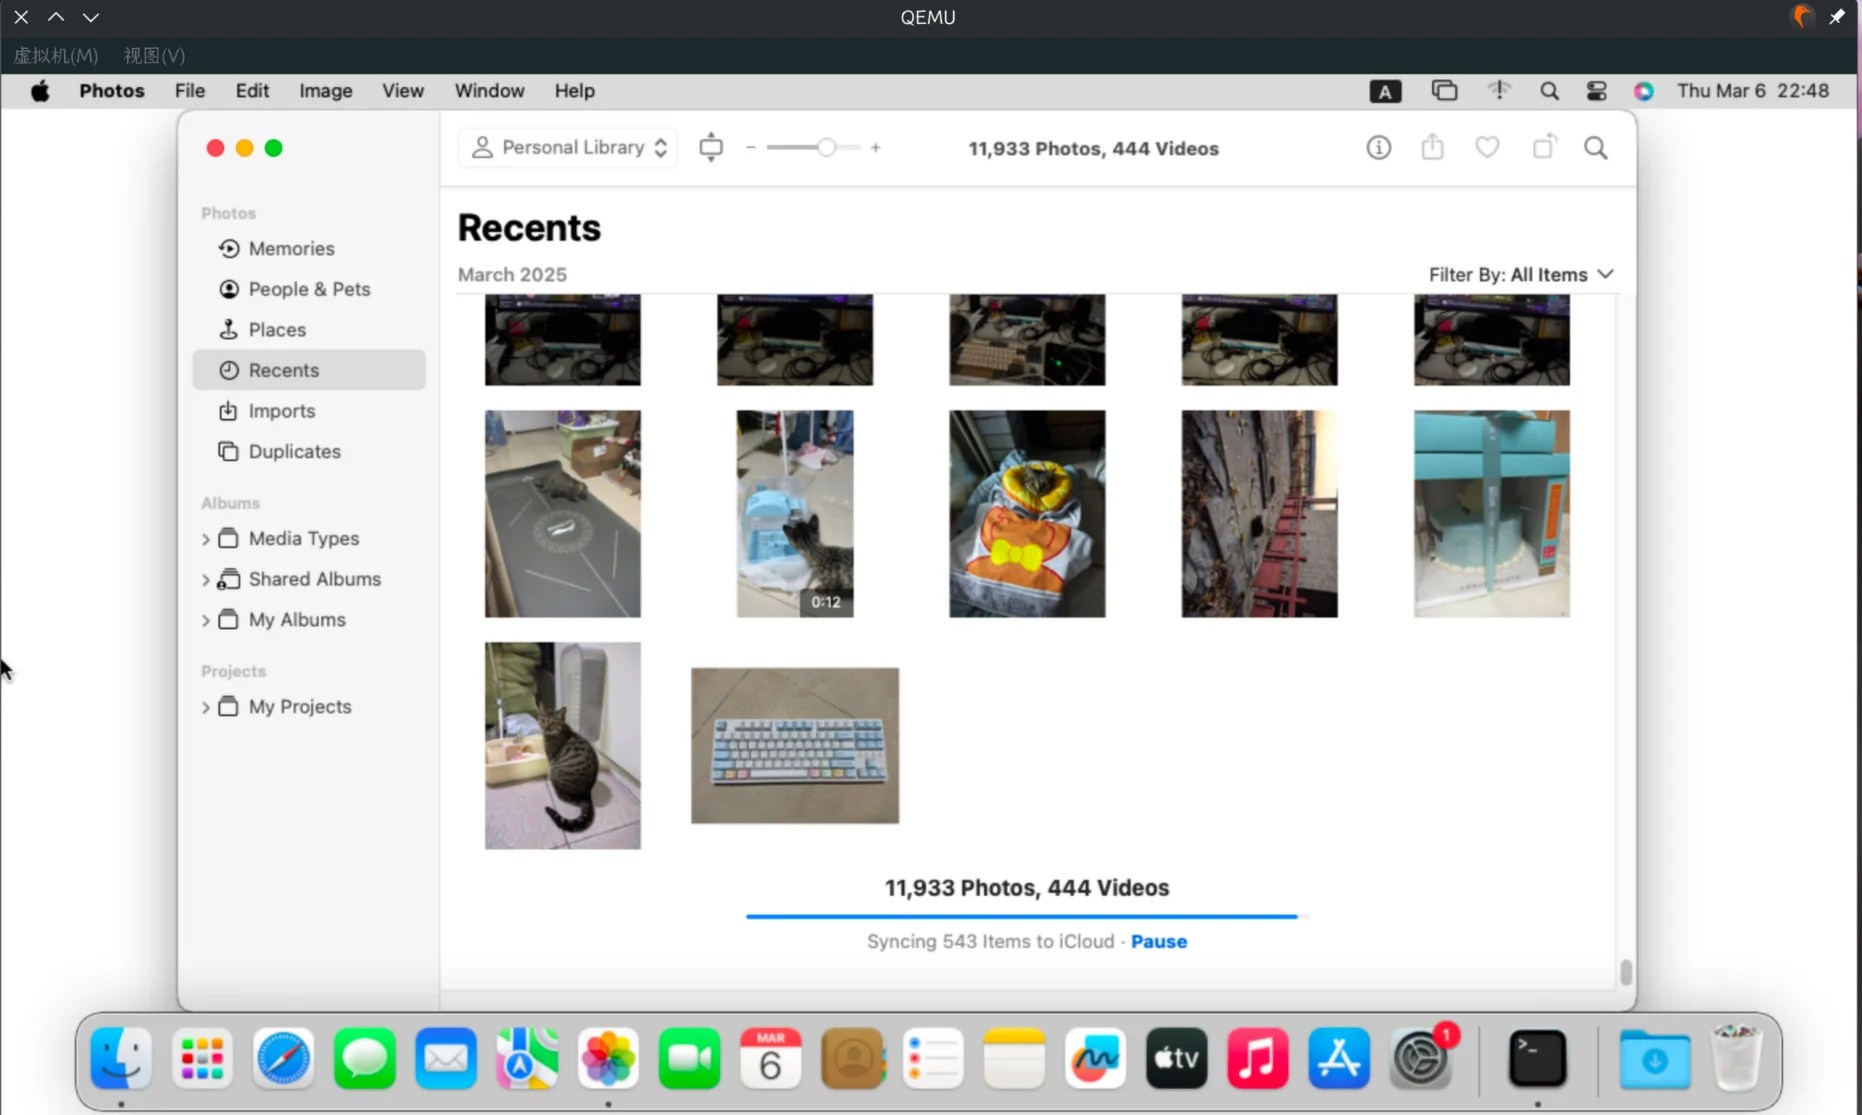
Use macOS Photos to import the images. Follow this method: Reddit r/applehelp.
-
Wait for the upload to complete. Testing showed that 150GB (~11k photos) took about a full day.
-
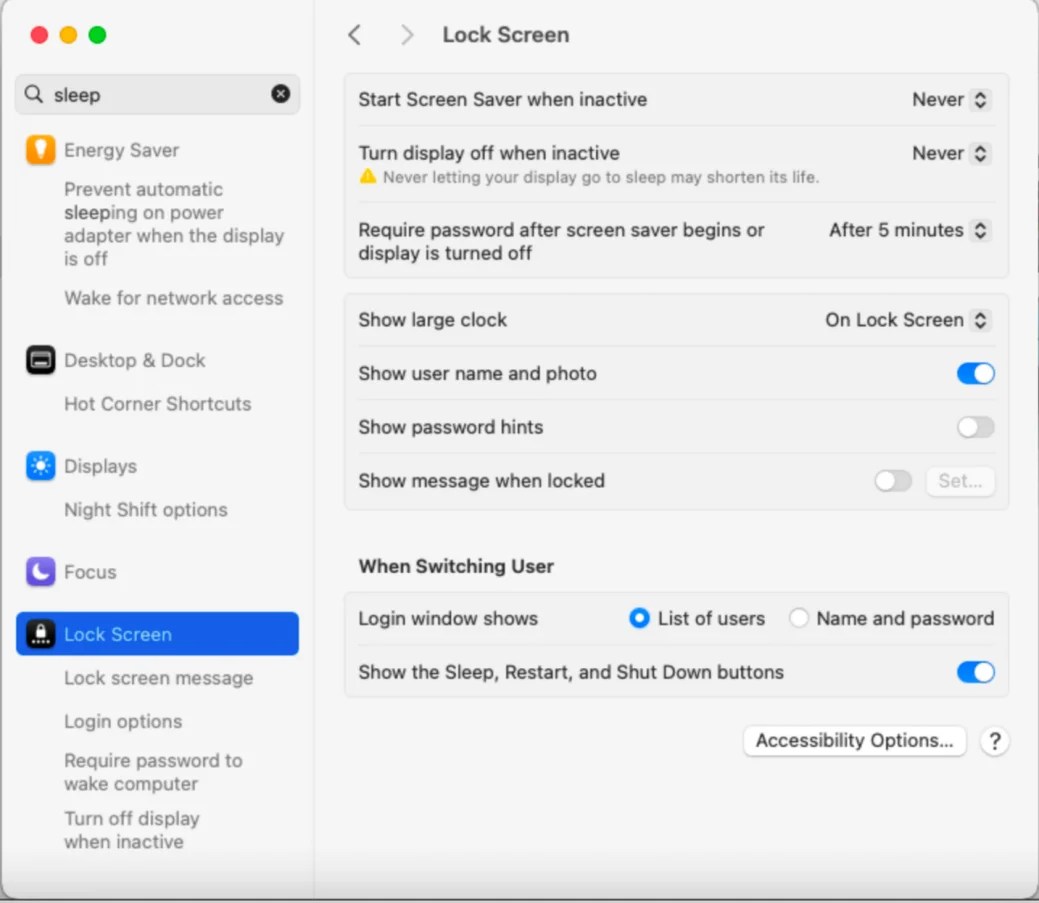
Disable Mac power-saving to prevent upload pauses: Set sleep and wake settings for your Mac.
-
Then, wait:
-
Conclusion
As geeks, we must investigate whether we have an exit strategy—meaning ways to export our data. Similarly, the Mac VM serves this purpose.
In summary, Apple is a great design company but also a terrible tech company.